
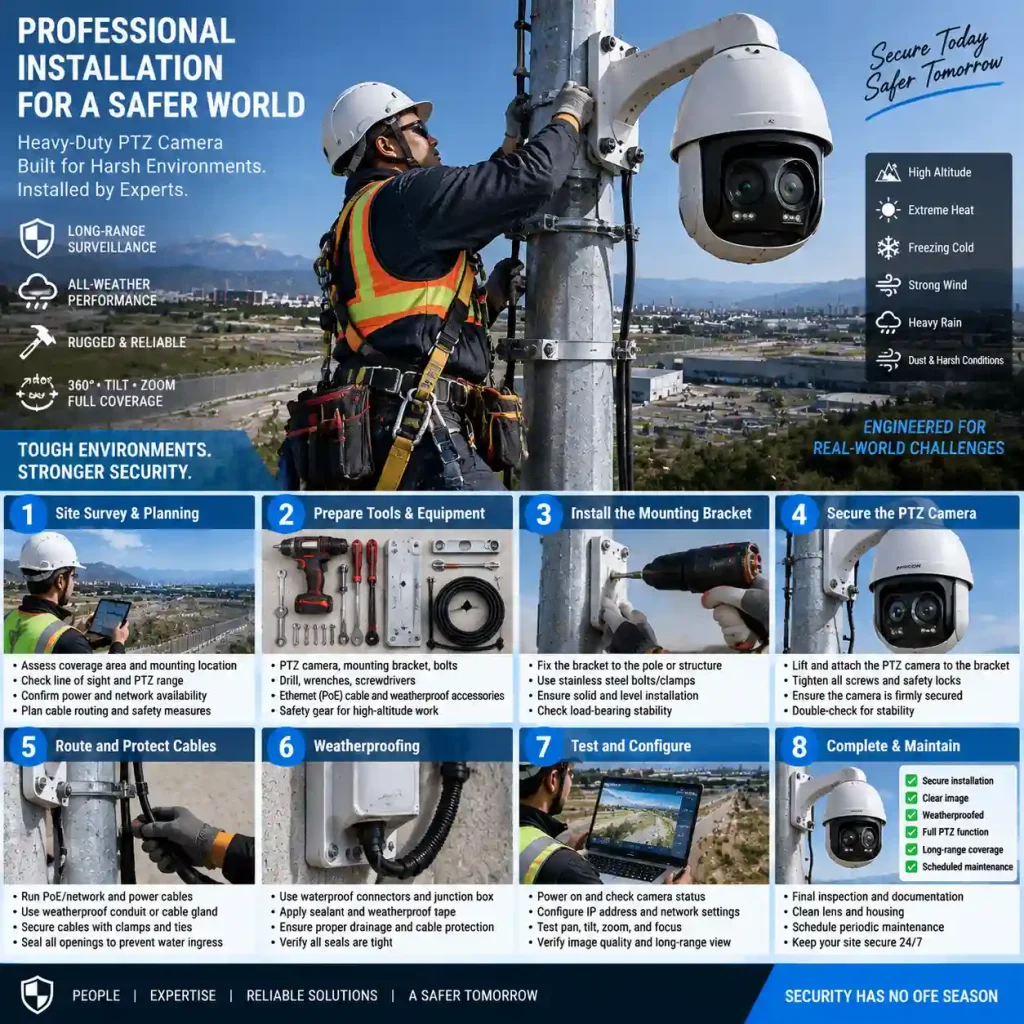
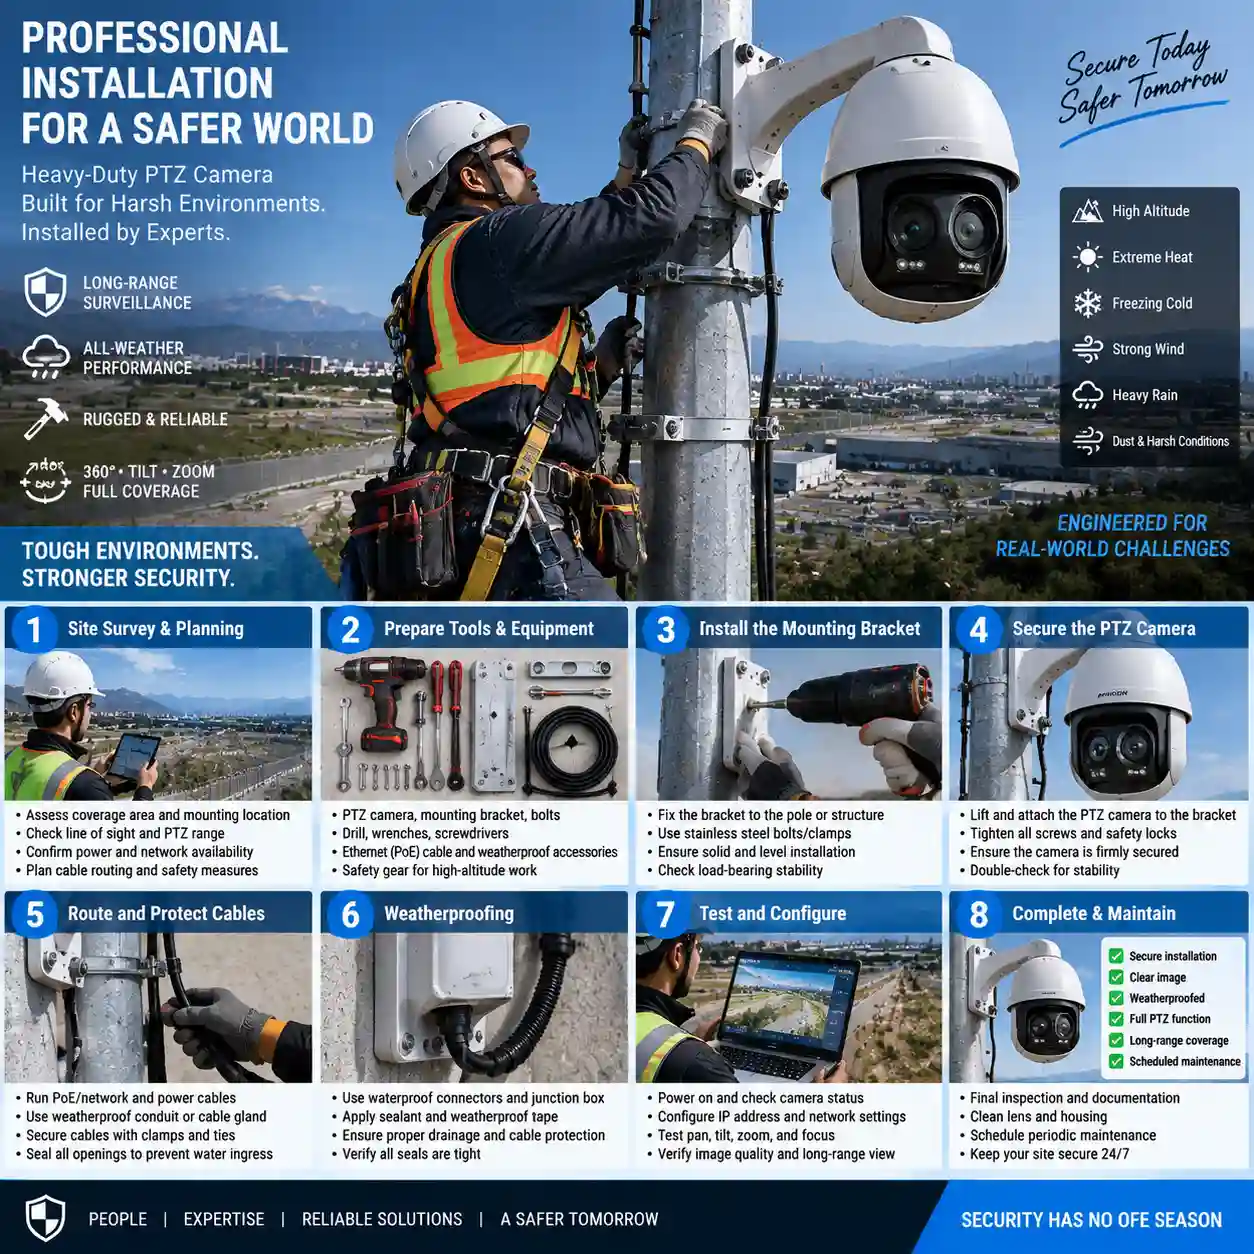
To install a PTZ IP Camera for a 150 m-plus outdoor observation project, prepare the site record, secure the camera, connect documented power and network interfaces, configure PTZ control, and complete an acceptance test. The sequence applies to power facilities, substations, roads, patrol vehicles, border sectors, forest-fire prevention, oilfields, and remote infrastructure.
An installation is complete when the operator can view the sector, use approved PTZ commands, recall presets, record streams, and hand an event to the control room.
What Should You Prepare Before Installing a PTZ IP Camera?
Start with an installation record.
| Installation stage | Key input | Acceptance evidence |
|---|---|---|
| Site survey | Sector, sightline, mounting, weather | Approved site drawing |
| Connection | Power, network, protocol | Live stream and command test |
| PTZ setup | Presets, routes, return position | Recorded preset views |
| Commissioning | Recording, handoff, weather functions | Signed acceptance sheet |
Define the Observation Sector and Mounting Point
Record the target sector, 150 m-plus scope, line of sight, terrain, mounting height, weather, and operator action. Mark each repeat view on a site drawing before selecting the bracket position.
State the control-room handoff, live view, event view, recording channel, preset, and response action. These inputs guide camera orientation and PTZ programming.
Confirm Equipment, Tools, Power, and Network Inputs
Prepare model documentation, mounting hardware, cable protection, test instruments, power, network path, platform, protocol, recording plan, and acceptance views. Confirm local structural and electrical requirements.
PoE belongs in the confirmation list. Ask the supplier to state the model’s PoE standard, power class, budget, switch or injector requirement, cable route, and startup load. The Shuoxin WL-TX30-HD-RCX record lists wide-range DC12V vehicle input; it does not verify PoE for that model.
How Do You Install the PTZ Camera Hardware?
Hardware installation starts with the support structure and ends with a protected, serviceable cable route. The camera must remain stable during PTZ movement.
Survey the Pole, Mast, Vehicle, or Observation Structure
Inspect the mounting surface, load path, vibration, wind exposure, drainage, access, and maintenance position. A fixed observation point and a patrol vehicle have different movement and power conditions. Record the structure, bracket orientation, cable entry, and service space in the installation drawing.
For vehicle deployment, confirm roof mounting, DC supply, vibration provisions, and communications. The WL-TX30-HD-RCX lists optional vehicle shock absorbers.
Secure the Camera and Protect Cable Routes
Align the bracket with the planned sector, install specified fasteners, and apply strain relief. Protect connectors from water, pull, dust, and abrasion. Leave a serviceable cable route.
Set initial orientation against the site drawing and confirm nearby structures stay outside programmed views.
How Do You Connect Power and Network Interfaces?
Confirm Power Input and PoE Status
Check the model input, supply protection, connector, cable route, and available power before startup. For a vehicle installation, the WL-TX30-HD-RCX reference configuration lists wide-range DC12V vehicle input. The same record does not confirm a PoE interface.
When the project specifies PoE, request written confirmation for the exact model. Record the standard, class, power budget, switch or injector, cable calculation, and startup behavior. Use a design that the supplier and integrator can test.
Connect the Camera to the Network and Platform
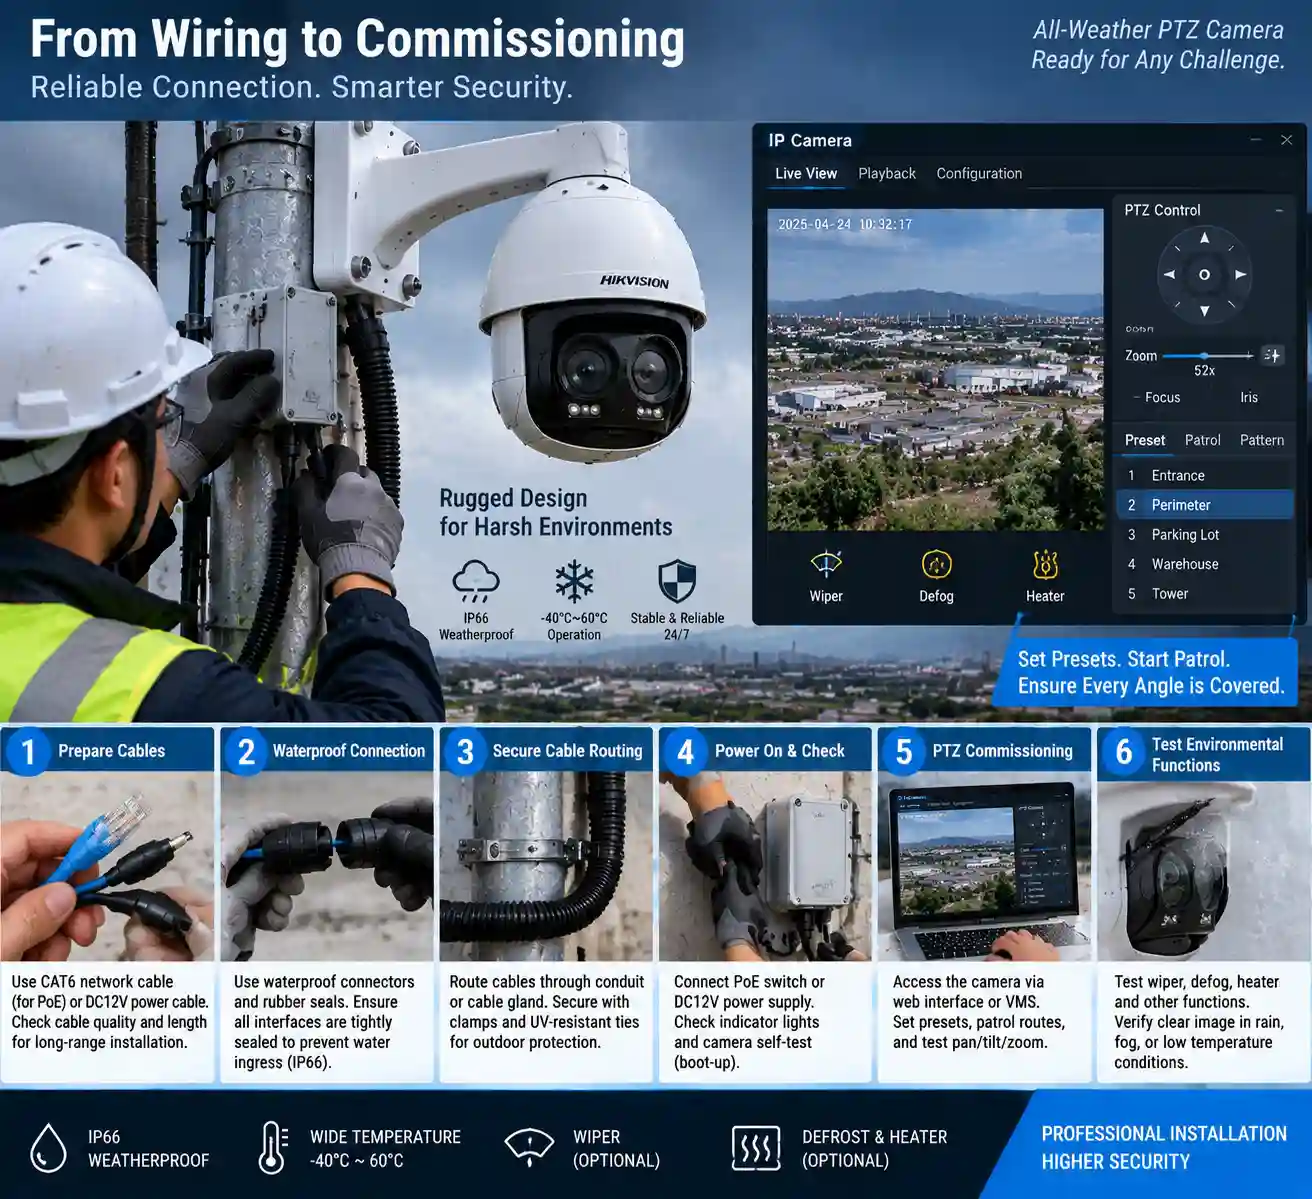
Assign network details according to the approved plan. Label cables and ports, then verify link status, stream access, time settings, permissions, and recording destination.
The WL-TX30-HD-RCX lists ONVIF Profiles S/G, RS485, and H.265, H.264, and MJPEG. Add it to the video platform, test live video, and send PTZ commands through the intended path. Video access and PTZ control require separate tests.
How Do You Configure PTZ Control After Installation?
Configuration turns the physical orientation into a repeatable patrol and response procedure. Use the sector drawing and preset list as reference.
Verify ONVIF or RS485 PTZ Commands
Test pan, tilt, zoom, stop, preset recall, and return commands from the approved platform. If RS485 is used, verify wiring, address, protocol, and response with the integrator.
The WL-TX30-HD-RCX lists 360-degree endless pan and +90 to -90 degree tilt. Installed limits depend on mounting, cable route, platform commands, and site review.
Set Presets, Tracking Paths, and Recording Views
Name presets after the site sectors. Set return position, scan order, dwell time, and manual override. Record each view and confirm return after an event.
The WL-TX30-HD-RCX lists 256 presets and eight tracking paths. Use those values as model-specific fields. The DRI-Bereichsleitfaden für Wärmebildkameras provides shared acceptance terminology; site testing remains required.
Which Outdoor Conditions Must You Check During Commissioning?
Commissioning connects the installed hardware to weather, maintenance, communications, and operator checks. Record conditions and results for each acceptance item.
Check Enclosure, Window, Temperature, and Weather Functions
The WL-TX30-HD-RCX lists IP66, -35 to +55 degrees C, a wiper, heated glass, defrosting, and defogging. Compare these data with local rain, dust, wind, temperature, drainage, and service access. Test each included window function from the control path.
Record installed position, weather, function, and result in the commissioning sheet.
Test Vehicle Vibration and Remote-Site Communications
For vehicle projects, test DC12V connection, mounting stability, selected shock absorbers, cable protection, and communications. For fixed remote sites, test network path, stream continuity, recording, and playback.
Use the sectors, presets, commands, and recording views defined during preparation.
How Does Installation Change by Outdoor Application?
The sequence remains consistent; field checks follow the application and mounting point.
Kraftwerke, Umspannwerke und Ölfelder
Map equipment sectors, access routes, sightlines, weather, power continuity, network path, and acceptance views. Confirm the mounting structure and cable route before setting presets.
Roads, Patrol Vehicles, Borders, and Remote Areas
Road and border installations need direction-based presets, terrain notes, communications coverage, and operator handoff. Patrol vehicles add DC power, vibration, shock, cable protection, and mobile network checks.
Forest-Fire Prevention Areas
Forest-fire prevention installations require a clear observation point, sector boundaries, weather exposure, and a response path. The thermal PTZ cameras for forest-fire prevention article provides related context. Keep the selected model and acceptance views project-specific.
What Should You Test After Installing a PTZ IP Camera?
Use a six-part acceptance checklist:
- Power and startup: confirm the documented input, protection, boot sequence, and stable operation.
- Live video: verify the thermal or visible stream, timestamp, permissions, and recording destination.
- PTZ commands: test pan, tilt, zoom, stop, preset recall, and return commands from the approved platform.
- Routes and tracking: test the programmed presets, tracking paths, dwell times, and manual override.
- Environmental functions: test the documented wiper, heated glass, defrosting, and defogging functions where included.
- Handoff and records: verify control-room display, event recording, playback, and the completed acceptance sheet.
Store the result with model, site, date, weather, configuration file, and review sign-off.
Conclusion: Turn the Installation Record Into a Working PTZ System
An outdoor PTZ IP camera installation succeeds when site geometry, mounting, power, network, PTZ commands, presets, recording, environmental functions, and acceptance evidence agree. The 150 m-plus scope belongs in the project record, with performance assessed through the selected model and site test.
Shuoxin’s WL-TX30-HD-RCX reference configuration lists a 640 x 512 uncooled vanadium oxide thermal detector, 30-150 mm thermal lens, 1920 x 1080 visible channel, 52x optical zoom, 360-degree endless pan, 256 presets, eight tracking paths, IP66 protection, and wide-range DC12V vehicle input. Review the bispektrale PTZ-Wärmebildkamera mit großer Reichweite data, then submit the mounting, power, network, platform, vehicle, and acceptance requirements through Shuoxin’s PTZ installation contact.
FAQ
Q1: What do I need before installing a PTZ IP camera outdoors?
A: Prepare the target sector, 150 m-plus observation scope, line of sight, mounting point, weather conditions, power, network, platform, control protocol, recording plan, and acceptance views. Confirm the selected model’s interfaces and environmental data before installation.
Q2: Can a PTZ IP camera use PoE?
A: PoE use depends on the exact model and power design. Confirm the PoE standard, class, power budget, switch or injector, cable path, startup load, and environmental limits with the supplier. The WL-TX30-HD-RCX record lists wide-range DC12V vehicle input and does not confirm PoE.
Q3: How do I connect PTZ control after mounting the camera?
A: Connect the documented network or RS485 interface, add the camera to the approved platform, and test pan, tilt, zoom, stop, preset, and return commands. The WL-TX30-HD-RCX lists ONVIF Profiles S/G and RS485; the installed platform still requires a command test.
Q4: What should I test after installing a long-range PTZ camera?
A: Test power and startup, live thermal or visible video, PTZ commands, presets, tracking paths, recording, playback, environmental functions, and control-room handoff. Record the model, site, date, weather, configuration, and acceptance results.
Frage 5: Which site details should I send to a supplier before installation?
A: Send the sector map, distance scope, target area, terrain, mounting structure, weather exposure, power source, network path, control platform, recording requirement, vehicle details, PoE requirement, preset plan, and acceptance views. These details let the supplier review the installation configuration against the site. The selected model documentation and the site’s approved electrical and network design govern power and data connections. Record cable identity, polarity, protection, and connector condition before startup.